

I am a jeans and t-shirt kind of girl, but sometimes you just want to
up your t-shirt game from plain and basic to cute and sassy! This is an
easy no sew way to take any t-shirt you have and transform it in 10
minutes or less into a cute off the shoulder shirt perfect to layer with
a tank if you want.
 |
| Hover over the image to Pin it for later! |
Supplies
All you need is:
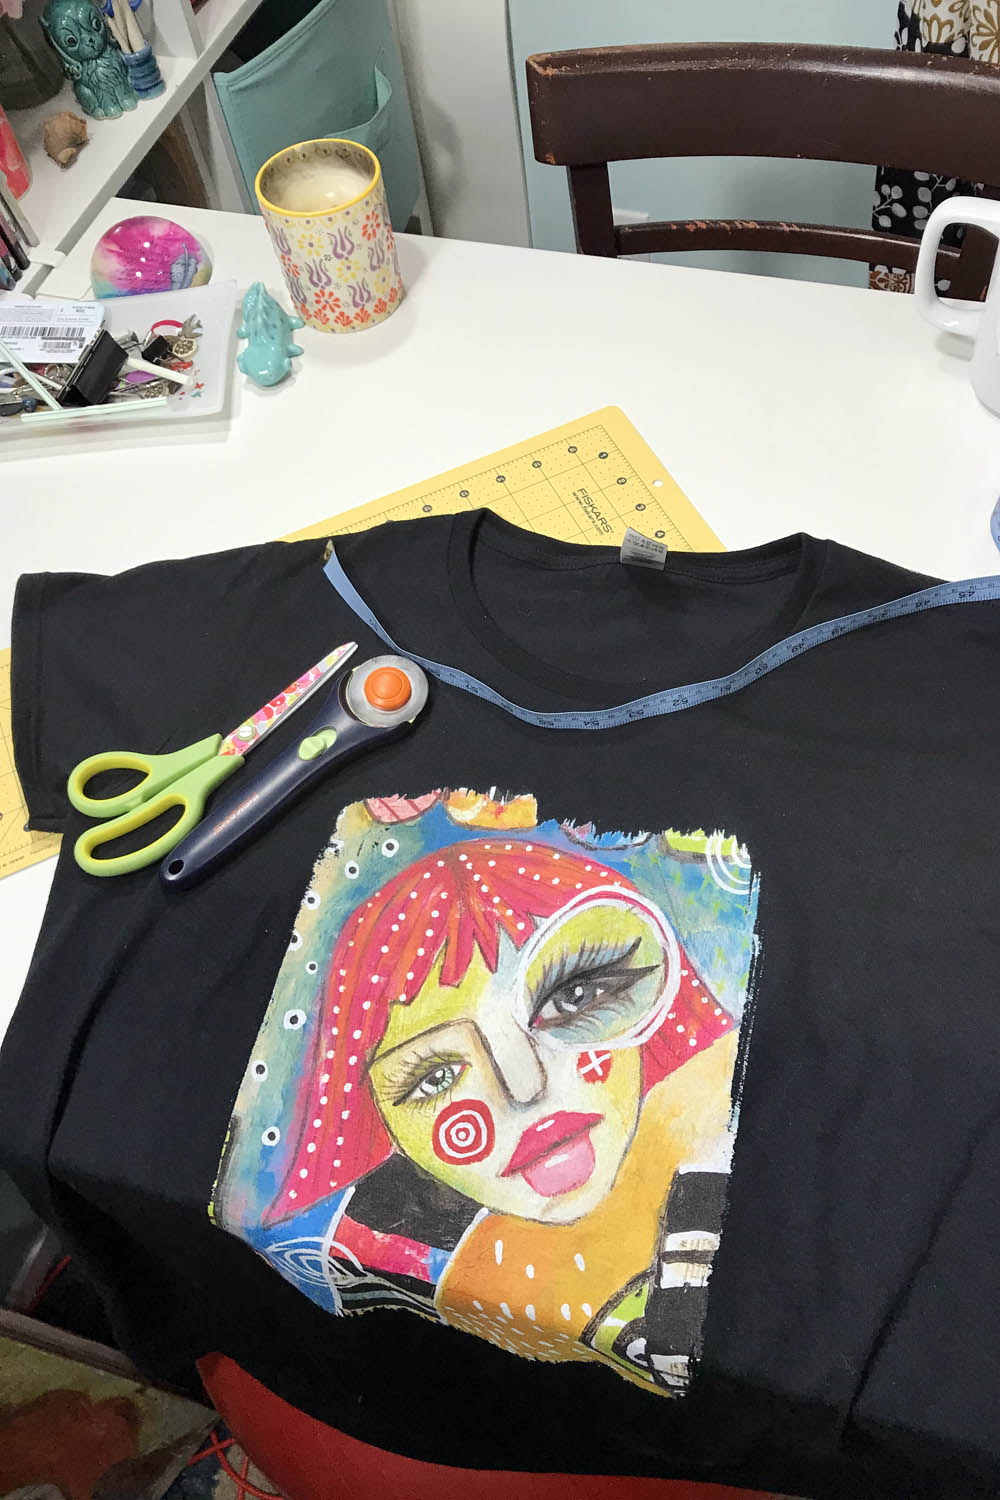
- a t-shirt you want to make over- I chose this super cute one I got out of my Zazzle shop with my newest artwork on it
- a pair of scissors or a fabric rotary cutter.
- A couple of straight pins
- You will also need a cutting mat if you use the rotary cutter. I used both in this diy, but I really prefer a simple pair of scissors. I got a bit overzealous with the rotary cutter and made the shirt off both shoulders where I had initially intended to just make it off one shoulder!
Let's Get Started!
The first thing you want to do is decide if you want your shirt to fall off of one shoulder or both. If you want it off one shoulder, follow the basic line you see in the image above where the tape measure is laid out.
*Try on your shirt and make a mental note or mark with a straight pin where you want the shoulder cuts to start. These approximate measurements worked for me on this shirt, but if you have narrow shoulders, or a looser shirt, or even shirts of the same size, placement may vary. You will be opening a much bigger neck so it will hang more than you think. Take off LESS than you think you need. You can always take off more after you try it on again, but you can’t put it back.*
It will be an asymmetrical cut with one side being about 1"- 1.5" from the seam

and the other being about 3" from the opposite shoulder seam.

If you want it off both shoulders you will make a symmetrical cut starting and ending at the same distance from each seam. In the center I stay pretty close to the bottom of the neck seam but you can go lower if you want a deeper dip.
You can get as precise as you want and measure and use fabric chalk to mark your line off, but I'm all about close enough is good enough. Especially when you are dealing with cotton t-shirt material that is very forgiving and will roll a bit where you make your cuts. This is a DIY made for free spirits!
 |
| Excuse the makeup smudges I got on my shirt when I tried it on. |
Next, we want to make a scooped cut for the new neckline.

Now we are going to simply cut the hem off of each sleeve as close to the hem as we can.
 |
| I'm blaming dirty paw prints for these dusty smudges. Pay no mind! |
Finally, we are going to cut the bottom hem off. I am going to give the bottom of mine a subtle curve like I have marked with the tape measure in the image.
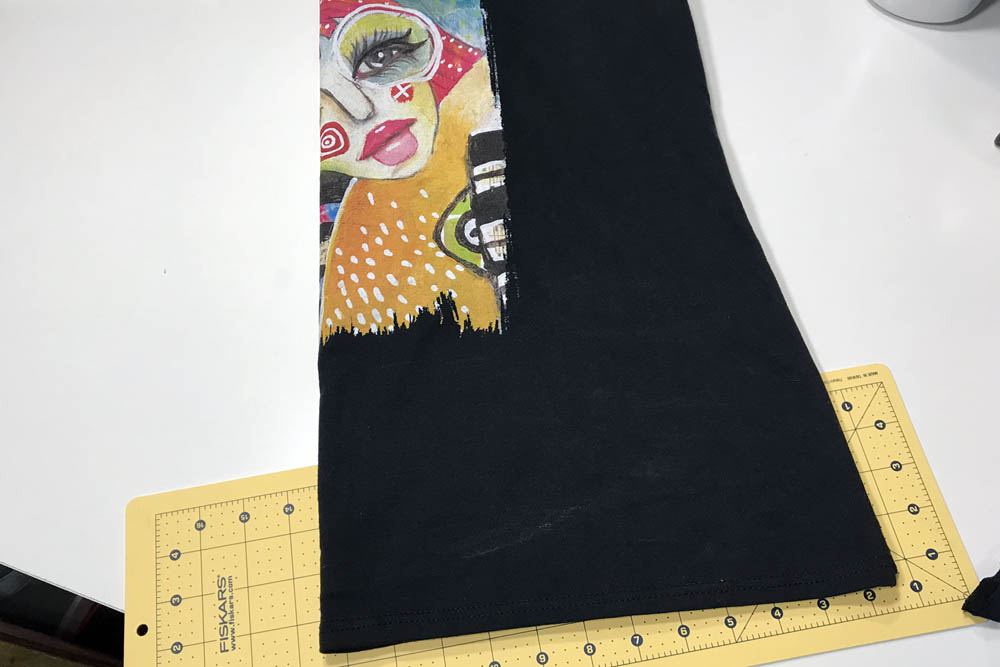
Start by folding the shirt in half lengthwise.
This is the step where you could shorten the shirt a bit if you want to.
My shirt was a good length so I wanted to stay close to the hem as I started my cut at the fold. Then, since I wanted a slight scoop up at the sides of my shirt, I started a gentle angle up as I got closer to the sides of the shirt.

You can make your scoop extreme so it has an obvious dip at the sides, or subtle like mine to just give it a bit of shape.

That is it. Time to try on your new super cute off the shoulder shirt that you DIYed in no time! Be careful! With a DIY this easy you might get carried away and transform all of your basic t-shirts!
Want your own Melrose Originals t-shirt? Check out my collection on Zazzle! If you try this DIY make sure to tag me on instagram @melroseoriginals. I love to see my art out in the real world or just any old t-shirt that you transformed!


Post a Comment
Leave me a message! I always love to hear what you have to say!